Do you see cracks or holes in your driveway? Are you tired of driving over bumps or water puddles that form every time it rains?
Fixing these problems may seem difficult, but there’s good news—you can fix them yourself using a product called cold patch asphalt.
In this blog post, we’ll walk you through a step-by-step guide on how to use cold patch asphalt to repair your driveway. No fancy tools or experience required—just simple instructions, and a little time.
What Is Cold Patch Asphalt?
A Quick Fix for Driveway Potholes and Cracks
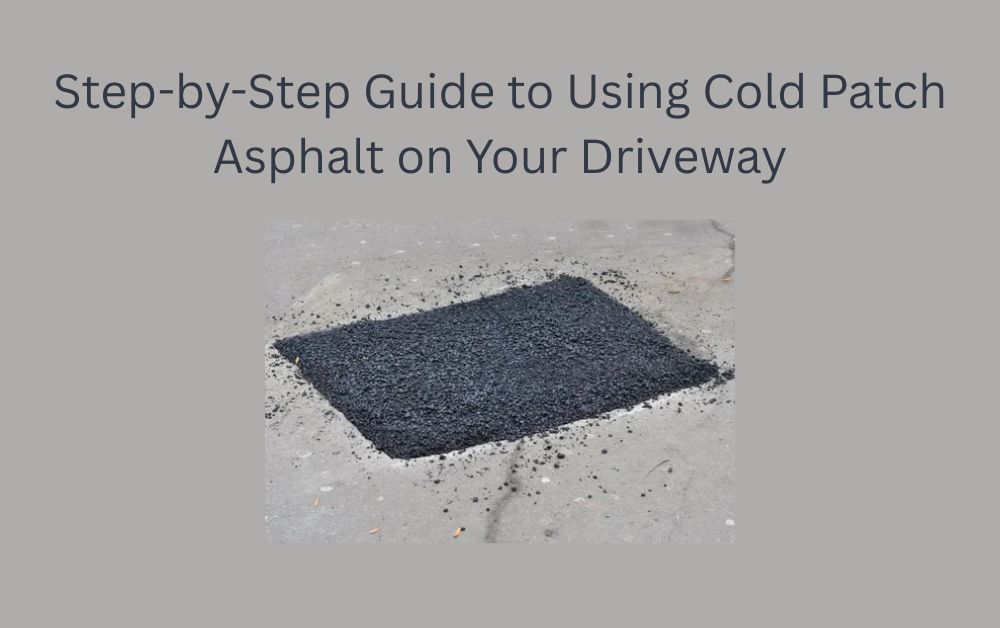
Cold patch asphalt is a type of pre-mixed asphalt that is used to fix holes and cracks in roads, parking lots, and driveways. Unlike hot asphalt, which needs special equipment and high temperatures, cold patch asphalt can be applied directly from the bag or bucket—no heating needed.
It’s a quick and easy solution for small jobs and is perfect for homeowners who want to repair their own driveways.
Why Should You Use Cold Patch Asphalt?
Great for Simple Repairs and Budget-Friendly
Cold patch asphalt is popular because:
- Easy to apply – No need for professional tools or machines
- Cost-effective – You can repair your driveway at a low cost
- Quick drying – Dries within a day or two depending on weather
- Weather-resistant – Works even in cold or wet conditions
- Perfect for home use – Ideal for DIY driveway fixes
If you’re looking for a fast and affordable way to fix your driveway, cold patch asphalt is a great option.
Tools and Materials You’ll Need
Prepare Before You Start
Before you begin your repair, gather the following tools and materials:
Basic Tools:
- Broom or brush (to clean the area)
- Shovel or trowel (to apply and spread the patch)
- Tamper or heavy object (to press the patch down firmly)
- Gloves (to keep your hands clean)
- Cold patch asphalt (available in bags or buckets)
Optional:
- Water (to clean the surface)
- Leaf blower (to clear dust or debris quickly)
- Asphalt sealer (for extra protection after patching)

Step-by-Step Guide to Fixing Your Driveway with Cold Patch Asphalt
Let’s break the job into simple steps. Follow each one carefully to get the best results.
Step 1: Clean the Damaged Area
Why cleaning is important:
Before you apply the patch, make sure the area is clean and dry. Dirt, leaves, and loose stones can stop the patch from sticking properly.
How to do it:
- Use a broom or brush to sweep away all loose dirt.
- Remove any grass, weeds, or small stones.
- If needed, use water to rinse the surface, and wait for it to dry.
Tip: A clean surface helps the patch stick better and last longer.
Step 2: Remove Loose Material
Get rid of weak asphalt
If the damaged area has pieces of broken or crumbling asphalt, remove them using a shovel or trowel.
- Break away soft or loose edges.
- Make the hole slightly deeper (at least 2 inches) so the patch can settle well.
- Try to create straight edges around the damaged area for a better finish.
Step 3: Fill the Hole with Cold Patch Asphalt
Start applying the patch
Now it’s time to open the cold patch bag or container and pour it into the hole.
How to do it:
- Pour the cold patch asphalt into the hole until it slightly overfills the surface (about ½ inch above the surrounding area).
- Spread it evenly using a trowel or flat shovel.
Tip: Don’t worry if it looks a little messy—this will be flattened in the next step.
Step 4: Compact the Cold Patch Asphalt
Press it down tightly
Compaction is the most important part of this repair. It helps remove air pockets and makes the patch strong and long-lasting.
How to do it:
- Use a hand tamper, sledgehammer, or even a piece of heavy wood to press down the asphalt.
- Push down with force to make the patch level with the rest of your driveway.
- If needed, add more material and compact again until the surface is smooth.
Tip: The tighter you compact, the better the patch will last.
Step 5: Let It Set and Cure
Give it time to harden
After compacting, you need to let the patch sit undisturbed.
- Most cold patch asphalt takes 24 to 48 hours to fully cure.
- Avoid driving over it during this time.
- In warm weather, it may set faster; in colder temperatures, it may take longer.
Optional: You can sprinkle a bit of sand or dust on top to help it blend in with the driveway and prevent sticking to shoes or tires.
Step 6: Seal the Repaired Area (Optional)
For extra protection
Once the patch has dried completely, you can apply an asphalt sealer over the area. This helps:
- Keep water out
- Prevent cracks in the future
- Make your driveway look clean and even
Note: Wait at least a few days before applying sealer to ensure the patch is dry.
Common Mistakes to Avoid
Don’t Let These Ruin Your Repair
Here are some mistakes that can reduce the life of your cold patch repair:
Not cleaning the area first
Dirt and debris will stop the patch from sticking properly.
Skipping compaction
Loose or poorly packed patches will break apart quickly.
Applying too thin a layer
Always fill to the correct depth (minimum 2 inches) for a strong fix.
Driving over the patch too early
Let it dry for at least 24–48 hours before using the driveway.
Frequently Asked Questions (FAQ)
Can I use cold patch asphalt in the rain?
Yes, many cold patch products can be applied in wet conditions, but it’s best to apply on a dry surface when possible.
How long does cold patch asphalt last?
If applied properly, it can last for several years. However, it’s best for temporary or small-area fixes.
Can I use cold patch on large potholes?
Yes, but for bigger or deeper holes, it’s better to layer the patch and compact after each layer.
Final Thoughts
Fixing your driveway doesn’t have to be hard or expensive. With cold patch asphalt, you can repair potholes, cracks, and surface damage quickly and easily on your own.
Just follow these simple steps:
- Clean the area
- Remove loose materials
- Pour in cold patch asphalt
- Compact it firmly
- Let it cure
- (Optional) Apply a sealant for long-term results
With a little effort, you can give your driveway a new life and avoid costly repairs in the future.
For more insightful articles related to this topic, feel free to visit viewsparrow


Leave a Reply