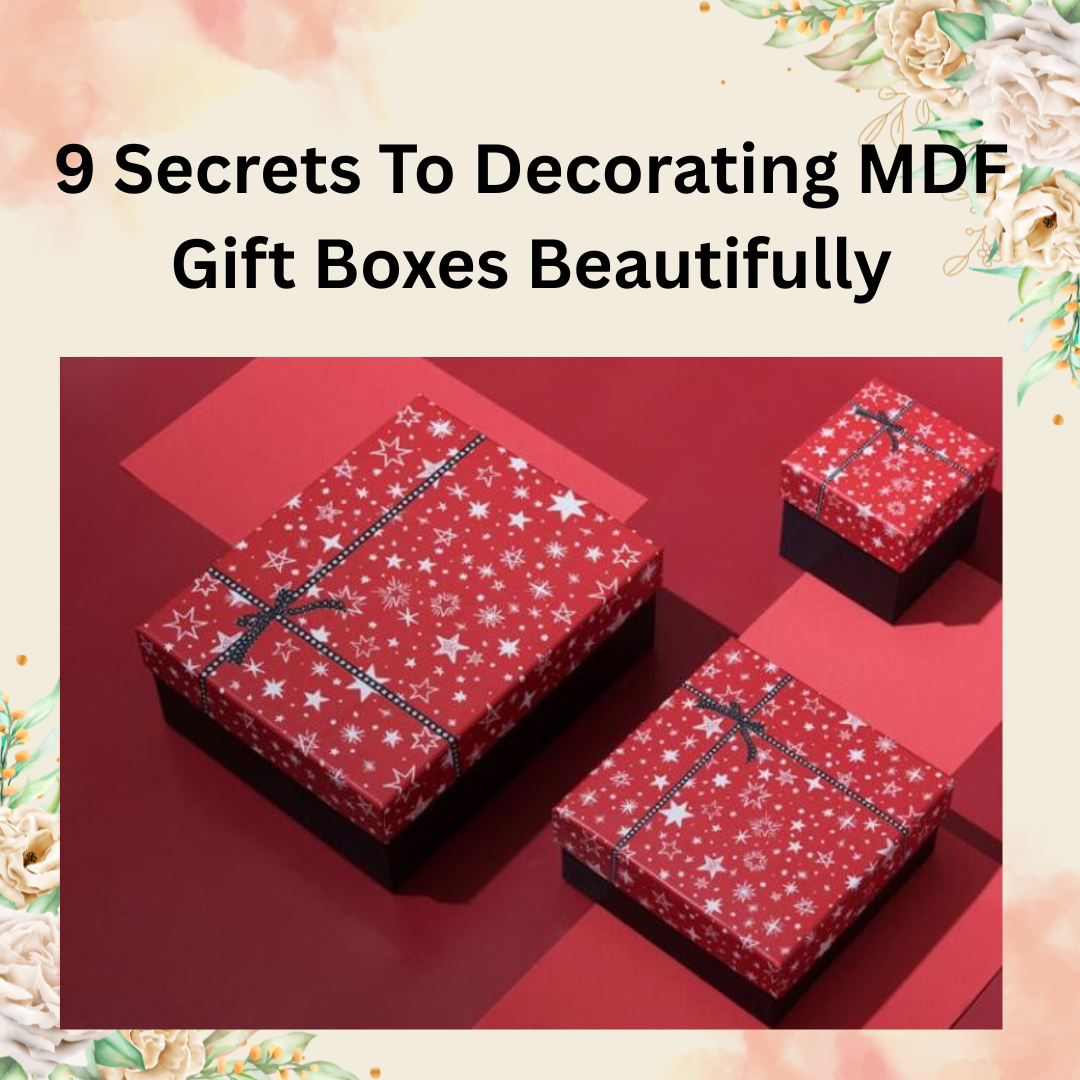
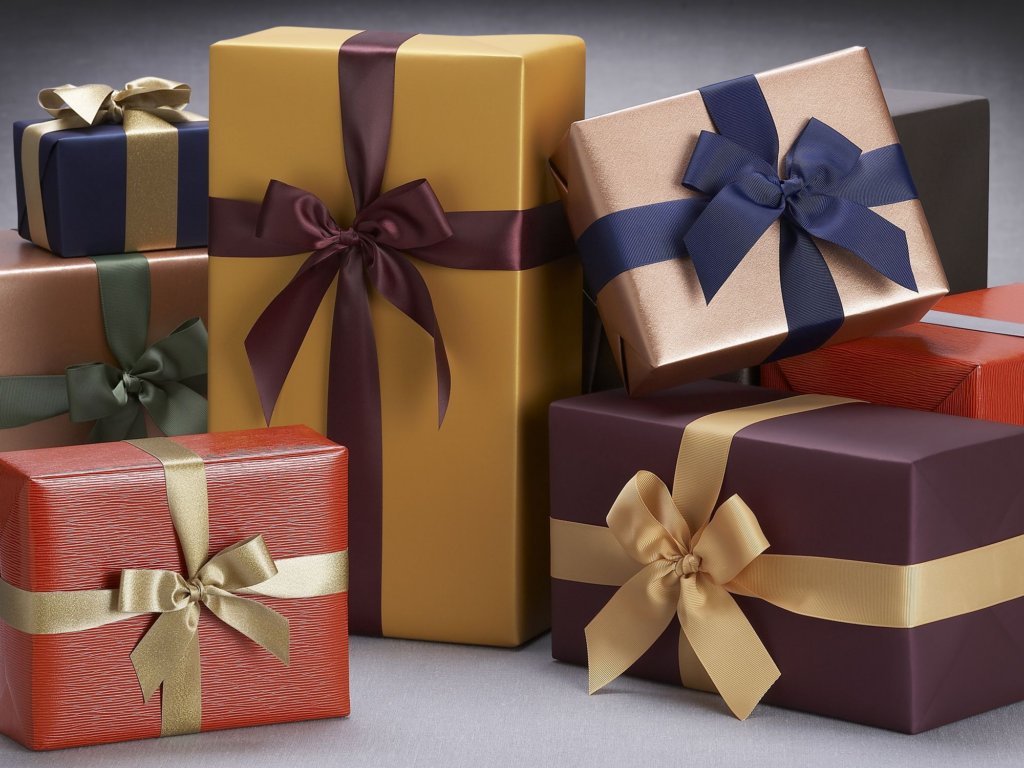
MDF (Medium-Density Fiberboard) gift boxes are a popular choice for gifting and packaging due to their strength, smooth finish, and versatility. However, simply handing over an MDF box without personalization can feel underwhelming. Whether you are preparing a corporate gift, wedding favor, or festive present, beautifully decorating MDF gift boxes adds charm and leaves a lasting impression.
In this article, we reveal 9 professional secrets that will help you decorate MDF gift boxes to perfection, ensuring that your presentation is as special as the gift inside.
Understanding the Basics of MDF Gift Box Decoration
Before diving into the decorating secrets, it is important to understand the surface you are working with. MDF is a wood product made from wood fibers and resin, compressed into sheets. It has a smooth surface ideal for painting, staining, decoupage, and other craft techniques. Proper preparation of the box ensures that your decorative materials adhere well and last longer.
Preparing the MDF Surface Properly
One of the most critical but often overlooked steps is surface preparation. MDF tends to absorb paints and adhesives quickly, which can ruin your final look if not handled carefully.
Professional Tip:
- Lightly sand the surface with fine-grit sandpaper to remove any manufacturing residue.
- Apply a primer or sealer specifically designed for MDF before painting or decorating.
- Allow it to dry thoroughly to prevent warping or swelling.
Surface preparation ensures your box will look polished and professional when finished.
Choosing the Right Paints and Colors
Painting is one of the easiest ways to add elegance to an MDF gift box. However, choosing the wrong type of paint or color scheme can result in a dull or uneven finish.
Recommended Approach:
- Use acrylic paints for vibrant, quick-drying results.
- For a luxurious touch, consider metallic shades like gold, silver, or copper.
- Chalk paints offer a vintage, matte finish that works beautifully for rustic-themed gifts.
Always apply thin, even coats, allowing each coat to dry before applying the next.
Exploring the Art of Decoupage
Decoupage is an artistic technique where you decorate surfaces using paper cutouts and special adhesives. This method can transform a plain MDF box into a stunning, customized piece.
How to Apply Decoupage:
- Choose high-quality patterned napkins, scrapbook papers, or decoupage sheets.
- Apply a thin layer of decoupage glue (such as Mod Podge) to the MDF surface.
- Carefully lay the paper and smooth it out to remove any bubbles.
- Seal with an additional top coat of glue for a durable, glossy finish.
Decoupage allows for endless customization, from floral designs to vintage maps.
Adding Texture with Fabric and Lace
Using fabric, lace, or burlap gives a tactile dimension to the MDF box, making it feel rich and unique.
Professional Methods:
- Measure and cut your fabric to fit panels of the box neatly.
- Use spray adhesive or fabric glue to affix the material.
- Embellish with buttons, pearls, or fabric flowers for a charming effect.
Fabrics can soften the appearance of the MDF and align the box with the theme of the event.
Embellishing with 3D Elements
Flat decoration is beautiful, but adding three-dimensional elements elevates the design further. Embellishments like beads, artificial flowers, mini frames, charms, or wooden cutouts create a stunning, handcrafted appeal.
Best Practices:
- Plan the placement before gluing to maintain symmetry and balance.
- Use a strong adhesive like hot glue or industrial-strength craft glue.
- Choose embellishments that complement rather than overwhelm the design.
Tasteful use of 3D elements brings artistry and depth to your MDF gift box.
Personalizing with Calligraphy and Monograms
Personalization transforms a gift from good to unforgettable. Adding names, initials, or meaningful quotes on the box using calligraphy is an elegant touch.
How to Personalize Professionally:
- Use fine-tip paint pens, stencils, or vinyl cutouts for precision.
- Practice your calligraphy style on paper before writing directly on the box.
- Choose ink colors that contrast well with the background for visibility.
Personalized MDF boxes are perfect for weddings, birthdays, and corporate gifting.
Incorporating Natural Elements
Nature-inspired decorations are trending due to their fresh, earthy vibe. Adding elements such as dried flowers, twigs, or mini pinecones can make an MDF box truly eye-catching.
Creative Tips:
- Create mini bouquets tied with twine and attach them to the box lid.
- Use eco-friendly glue to stick dried leaves and petals in artistic patterns.
- Combine natural textures with minimalist paintwork for a modern rustic look.
Nature-themed MDF gift boxes are perfect for eco-conscious gifting and organic product packaging.
Finishing with Protective Coatings
After investing time and creativity into decorating your MDF gift box, it is vital to protect your work with a proper finish.
Finishing Options:
- Apply a clear varnish or polyurethane coat for durability and shine.
- Use matte, satin, or glossy finishes depending on the desired look.
- For boxes used to package edible items, ensure the protective coat is food-safe.
Protective coatings not only preserve the beauty of your box but also add a professional touch that makes it stand out.
Conclusion
Decorating an MDF gift box is an opportunity to showcase creativity and thoughtfulness. By properly preparing the surface, selecting the right materials, and applying professional techniques, you can create stunning boxes that are as cherished as the gifts they contain.
Whether you opt for elegant paints, artistic decoupage, rich fabrics, or personalized calligraphy, following these 9 secrets ensures your MDF gift boxes will leave a lasting impression. With a little time and inspiration, even the simplest box can be transformed into a masterpiece that speaks from the heart.
For more insightful articles related to this topic, feel free to visit – viewsparrow
